
Connect a USB camera or USB audio device
Webcaster X2 currently has a Beta feature that lets you connect and stream a USB camera or connect a plug-and-play USB microphone that is a UAC device (i.e. it doesn’t require you to install drivers). This feature works with any of the available streaming platforms.
If you connect a USB camera and an HDMI video source to Webcaster X2, the audio from the HDMI source is used by default. If you want to use the audio from the USB camera instead, enable both the USB camera and the USB audio source (beta) options.
Video signals up to 720p are supported. When using a USB camera, you can switch between the USB and the HDMI video sources, as well as switch between different layouts during the live stream. Just connect a USB camera to Webcaster X2 to create PiP layouts and switch between your HDMI and USB camera sources. Interlaced and PAL signals are not supported.

Thanks for being part of the Beta process!
To stream a USB camera you need:
- A Facebook account or a YouTube channel that is verified and has no live stream restrictions
- Your HDMI camera to stream
- Your USB camera to stream or a plug-and-play USB microphone
- Your Webcaster X2
-
An Internet connection with a minimum of 6 Mb/s uplink for 1080p, or 3 Mb/s for 720p
- An HDMI display (that supports 1080p video)
- A mouse
- Optionally (but suggested), a keyboard
Here's how you enable using a connected USB camera or USB audio device.
- Connect everything and turn on Webcaster X2.
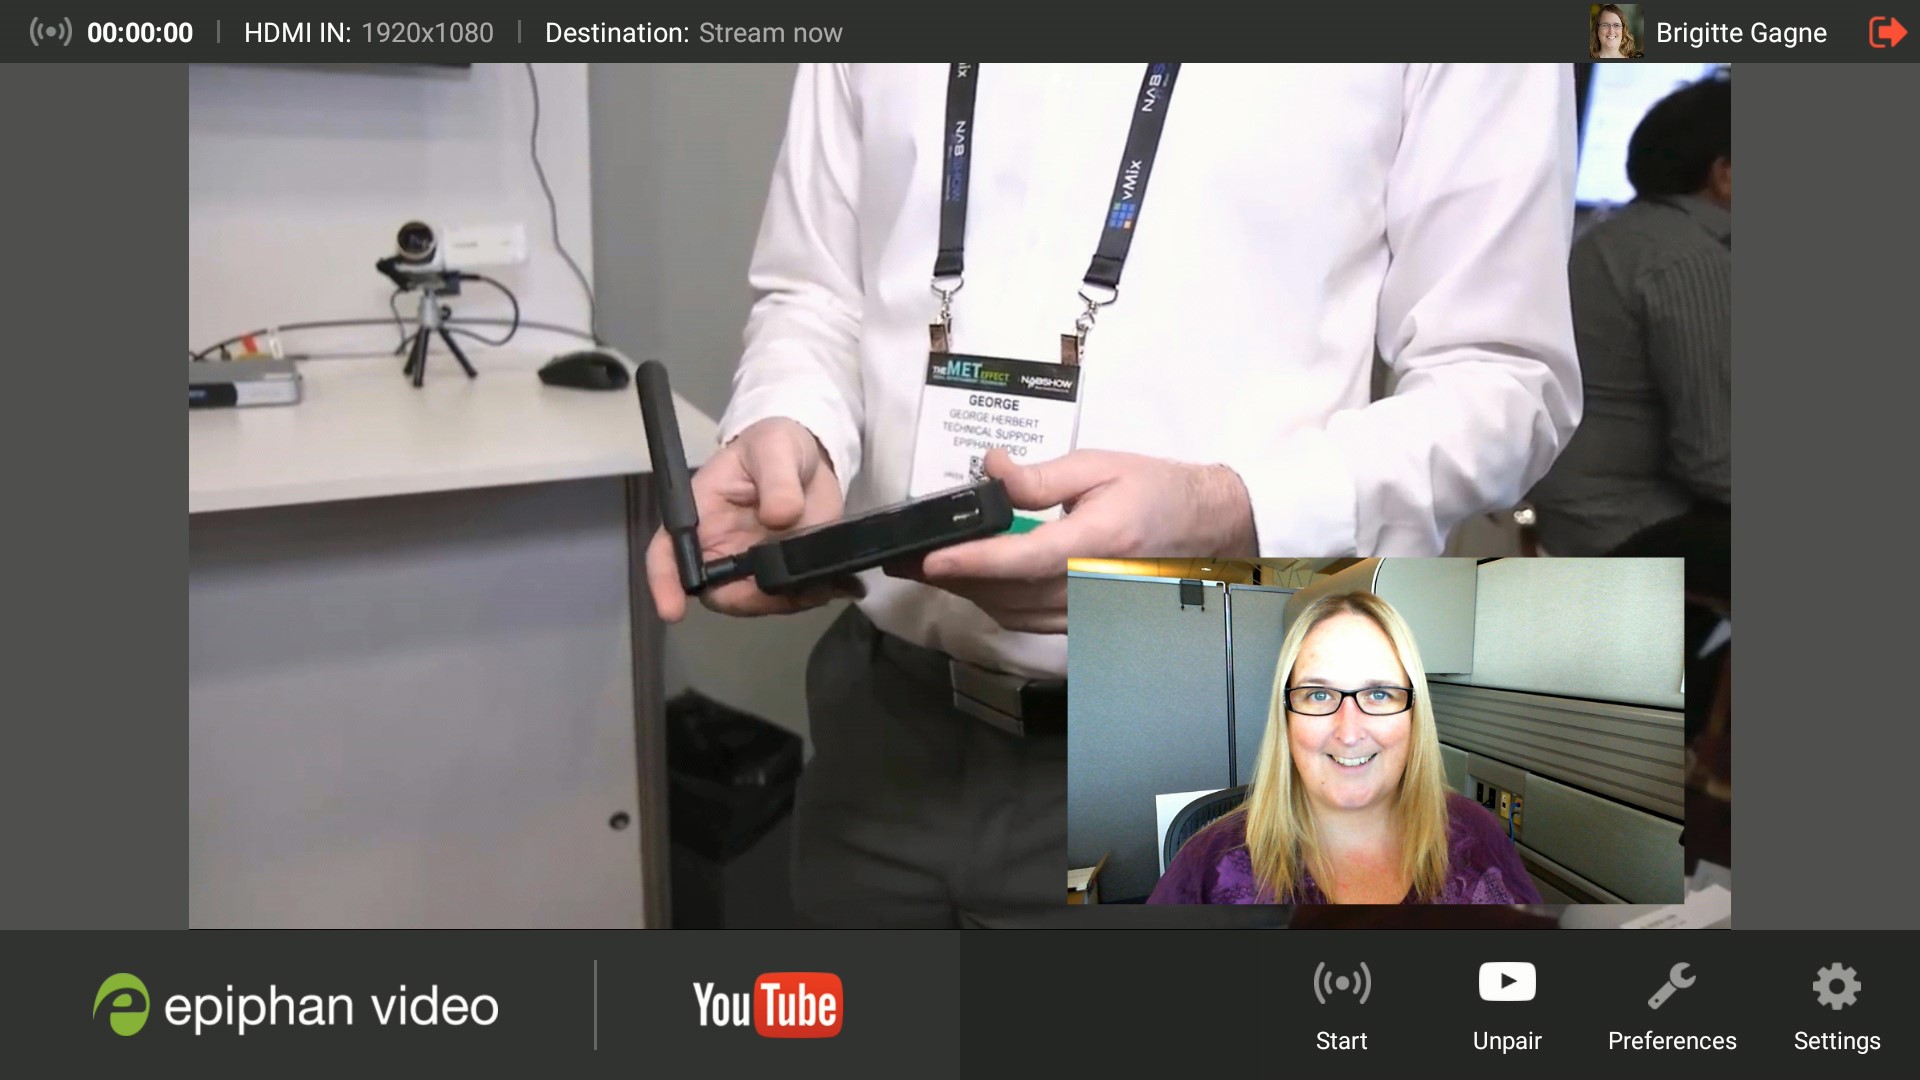
- Connect your HDMI camera to the HDMI IN port.
- Connect your USB camera or audio device to the USB port that is beside the HDMI IN port. Always use this port for your USB devices. You can only connect one USB device at a time for use with Webcaster X2.
- Connect your display to the HDMI OUT port.
- Connect your Ethernet cable to the Ethernet port. (Or configure Wi-Fi after boot up.)
- Connect your mouse to one of the USB ports.
- (Optional) We recommend you connect your keyboard to another USB port.
- Turn on Webcaster X2 by plugging in the power cord; Webcaster X2 executes its boot-up sequence.
Webcaster X2 supports HDMI input signals of 720p (1280×720) and 1080p (1920×1080), progressive signals only. Interlaced signals (e.g. 720i and 1080i) are not supported. If your camera isn’t supported (or is experiencing another signal issue), the front screen and attached display show a message that says HDMI IN No Signal. Audio is supported over HDMI at 44.1 kHz and 48 kHz. Or using the (beta) USB camera feature, you can use the audio from a connected USB webcam or a plug-and-play USB microphone that is a UAC device.Always connect your USB camera or USB audio device to the USB port on the same side of Webcaster X2 as the HDMI IN port. Plug the USB device in before you power on Webcaster X2. - To enable the USB audio Beta feature.
- Click the Preferences icon
 at the lower right corner of the screen. The Preferences screen opens.
 - Check Use USB audio source (BETA) in the Stream Details section. Right click to exit the Preferences and save the changes.
- Click the Preferences icon
- To enable the USB camera Beta feature.
- Click the Preferences icon at the lower right corner of the screen. The Preferences screen opens.
- Check Enable USB camera (BETA) in the Stream Details section.
- (Optional) Check Use USB audio source (BETA) in the Stream Details section if you want to use the audio from the connected USB camera instead of audio from the HDMI source.
- Right click to exit the Preferences and save the changes or continue to setup multisource layouts for switching.
- Click the Preferences icon
- For the USB camera feature, you can configure multisource layouts like PiP for switching.Not all cameras are detected immediately. If the Multisource section is not present on the Preferences page when the USB camera feature is enabled, reboot Webcaster X2 with the USB camera connected.
- Check the Multisource enabled checkbox to turn on or off picture in picture mode.
- Alternatively, control this during your live stream by pressing M on a USB keyboard attached to Webcaster X2.
- Check the Switch inputs checkbox to make the USB camera the primary camera (either the large camera in picture in picture mode, or the only camera on screen).
- Uncheck the Switch inputs checkbox to reset the HDMI camera as the primary camera.
- Alternatively, control switches during your live stream by pressing the Tab key on a USB keyboard attached to Webcaster X2.
- Click Layouts in the Multisource section; the layouts dialog opens.
- Click the desired layout choice; the layout is immediately applied.
- Alternatively, control your layout choice during your live stream by pressing the appropriate key 1-8 on a USB keyboard attached to Webcaster X2.
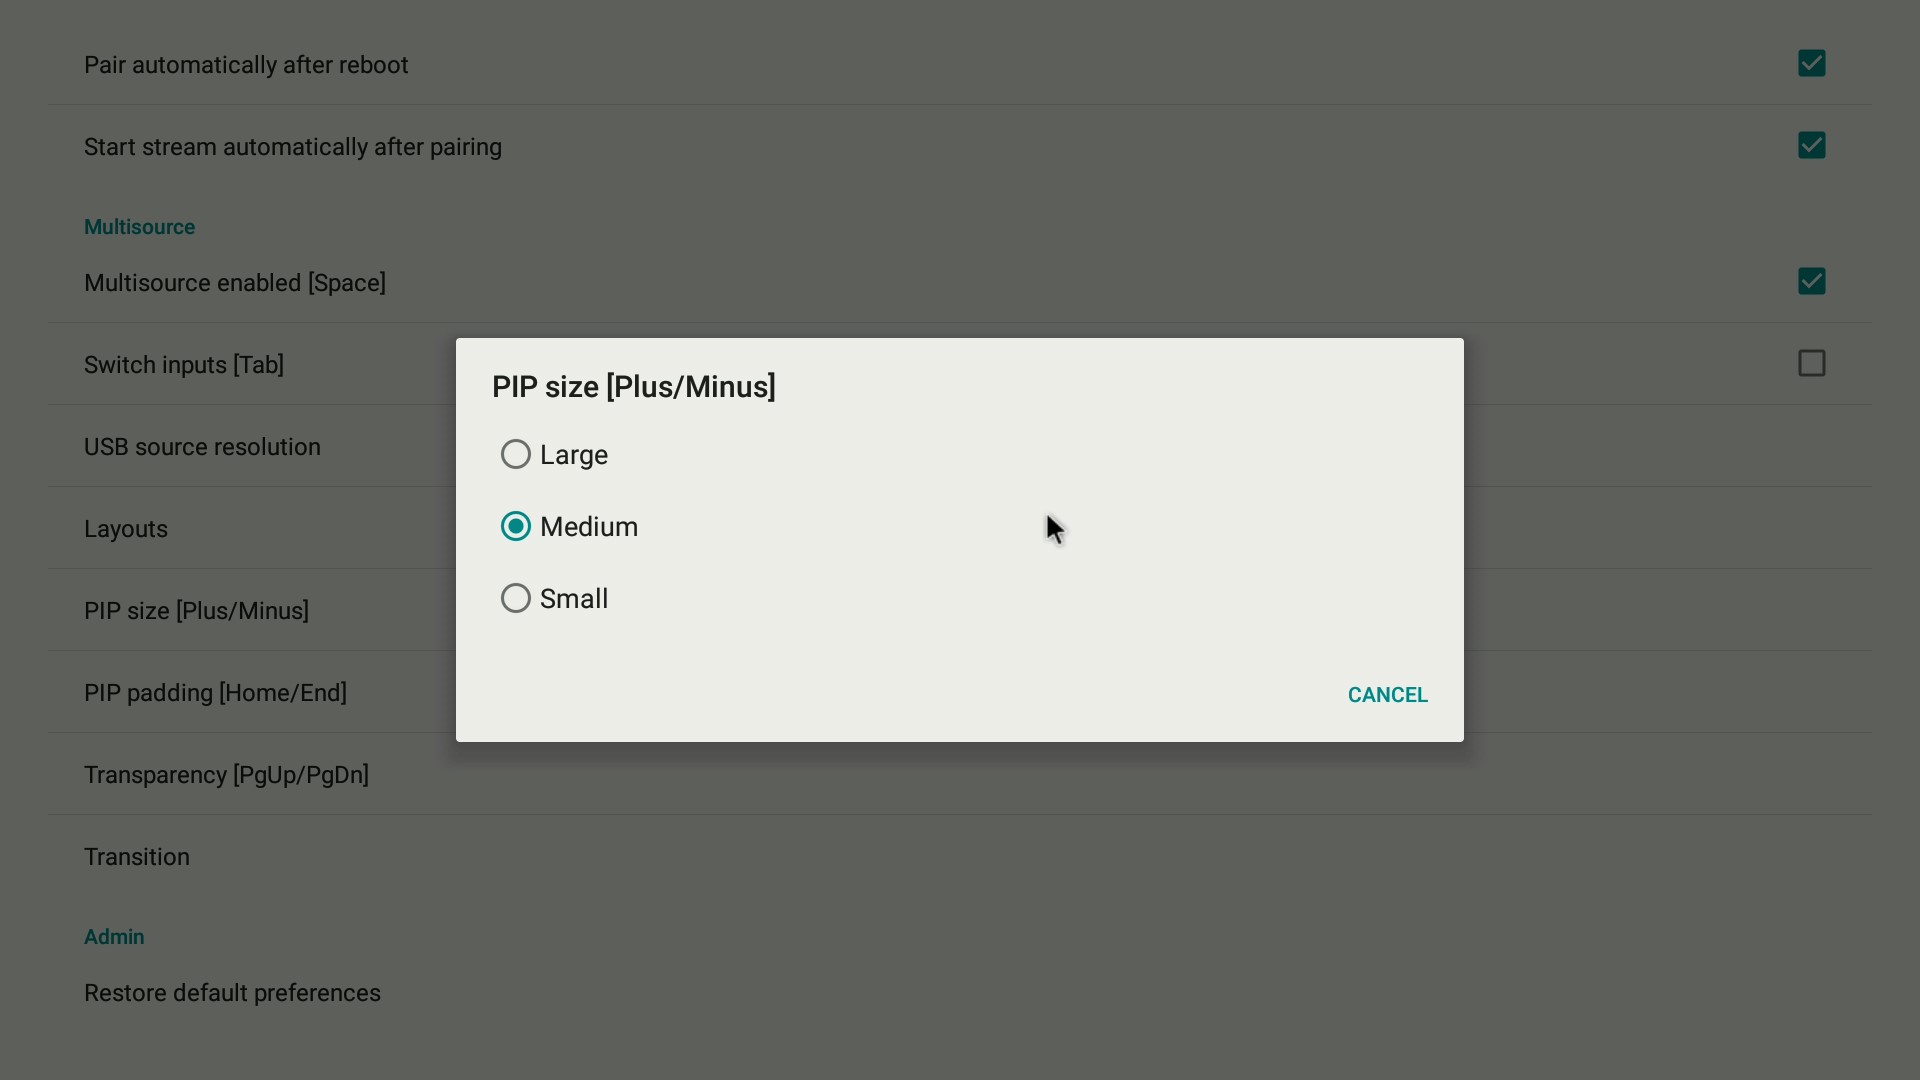
- Click PIP size in the Multisource section; the PIP size dialog opens.
- Select the desired size for the embedded image.
- Alternatively, cycle through the available image sizes by pressing [+] or [-] on a USB keyboard attached to Webcaster X2.
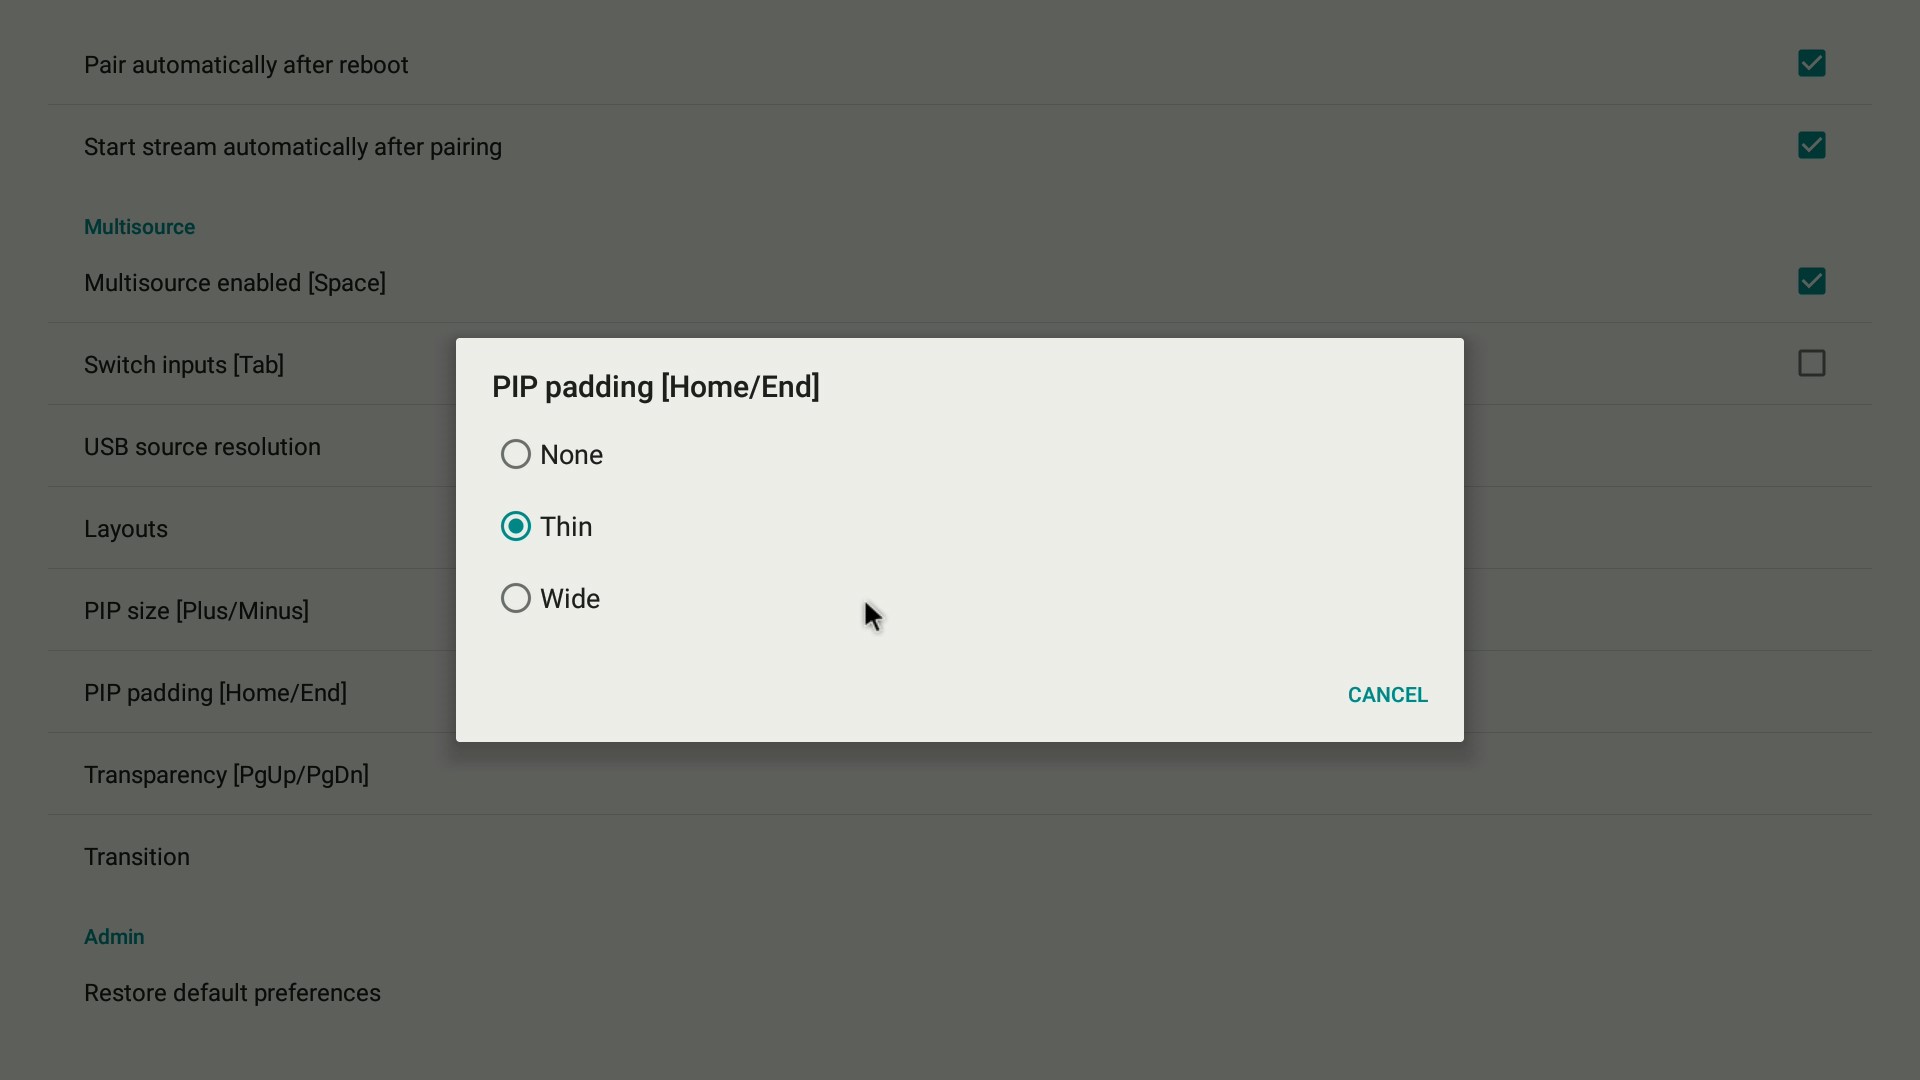
- Click PIP padding in the Multisource section; the PIP padding dialog opens.
- Select the desired padding size for the smaller image.
- Alternatively, cycle through the available padding sizes by pressing the [Home] or [End] keys on a USB keyboard attached to Webcaster X2.
- Click Transitions in the Multisource section; the Transitions dialog opens.
- Select the desired transition speed (or off).
- Click Transparency in the Multisource section; the Transparency dialog opens.
- Select the desired transparency for the topmost (primary) camera source.
- Alternatively, cycle through the available transparency options by pressing the [PgUp] or [PgDn] keys on a USB keyboard attached to Webcaster X2.
- Click USB source resolution in the Multisource section; the USB source resolution dialog opens.
- Select the desired resolution to which Webcaster X2 will scale your USB camera source.
- Right click to exit the Preferences menu and save the changes.
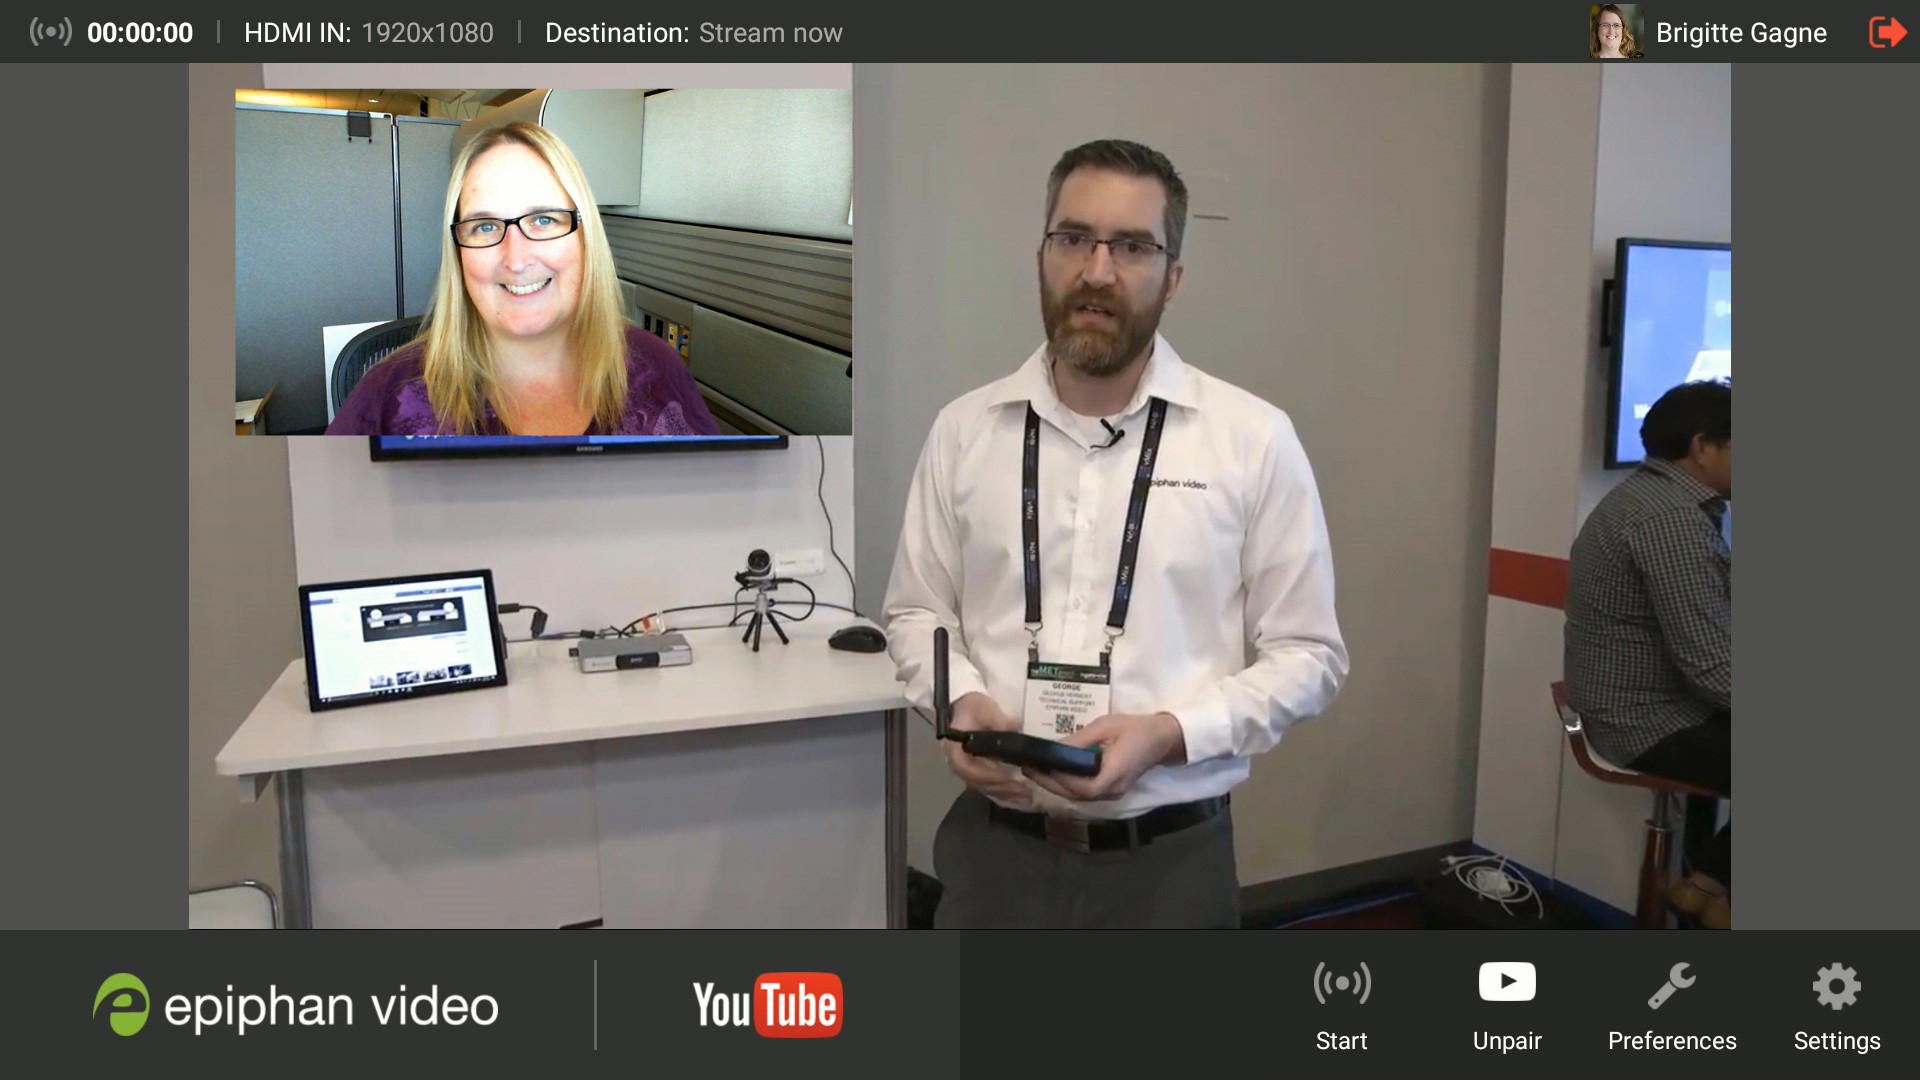
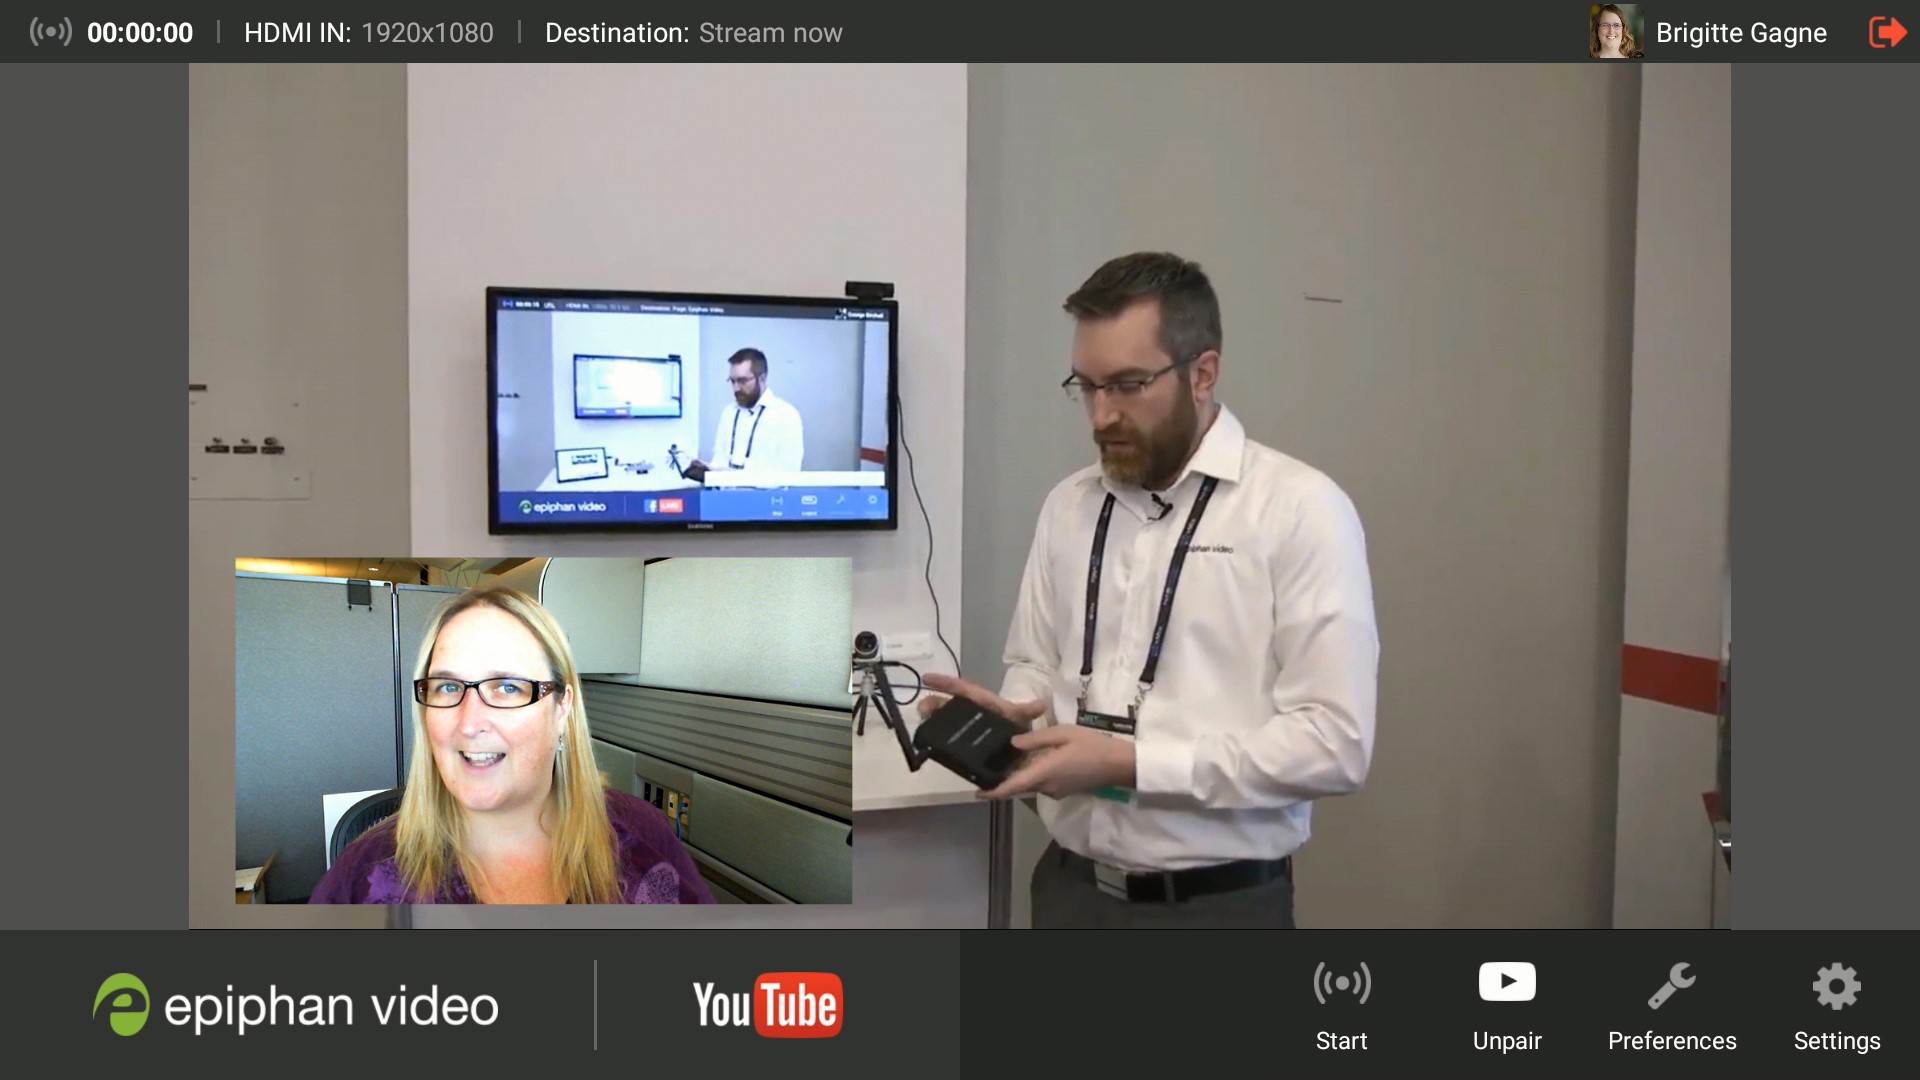
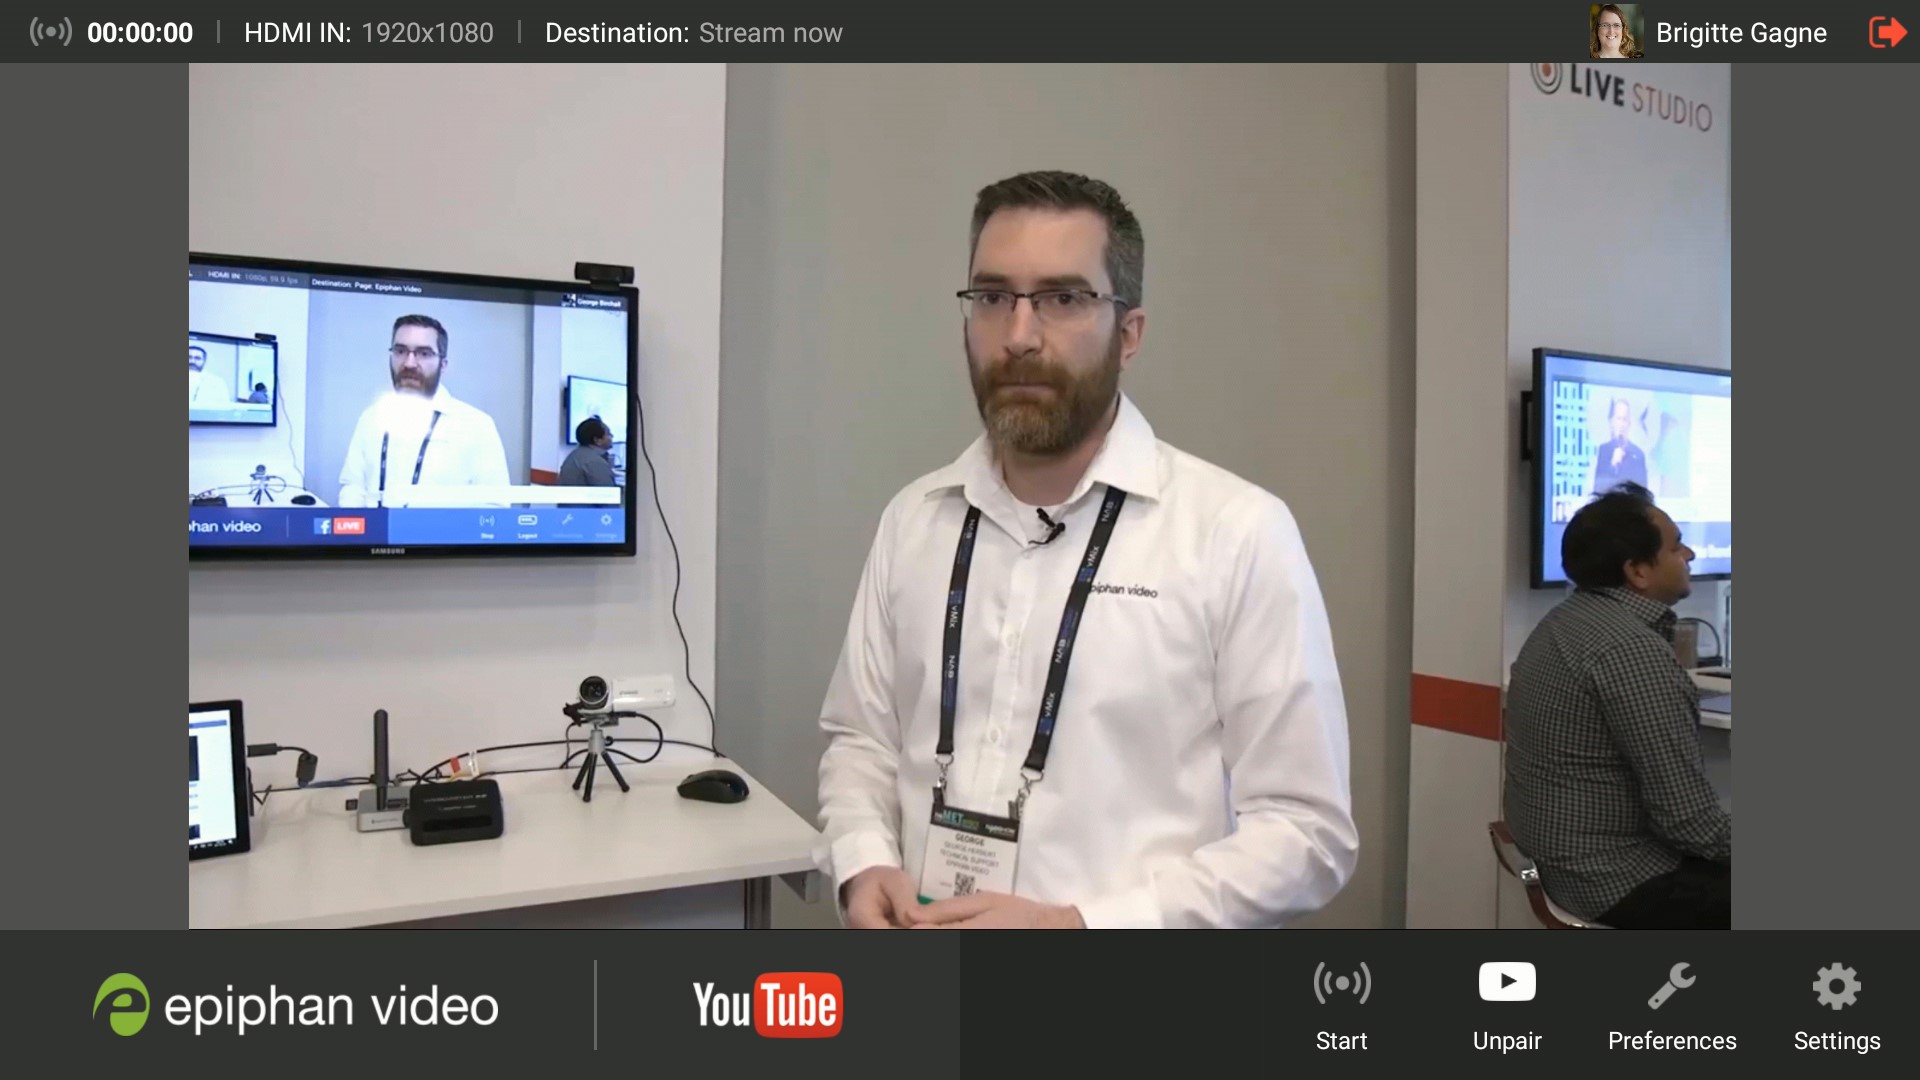
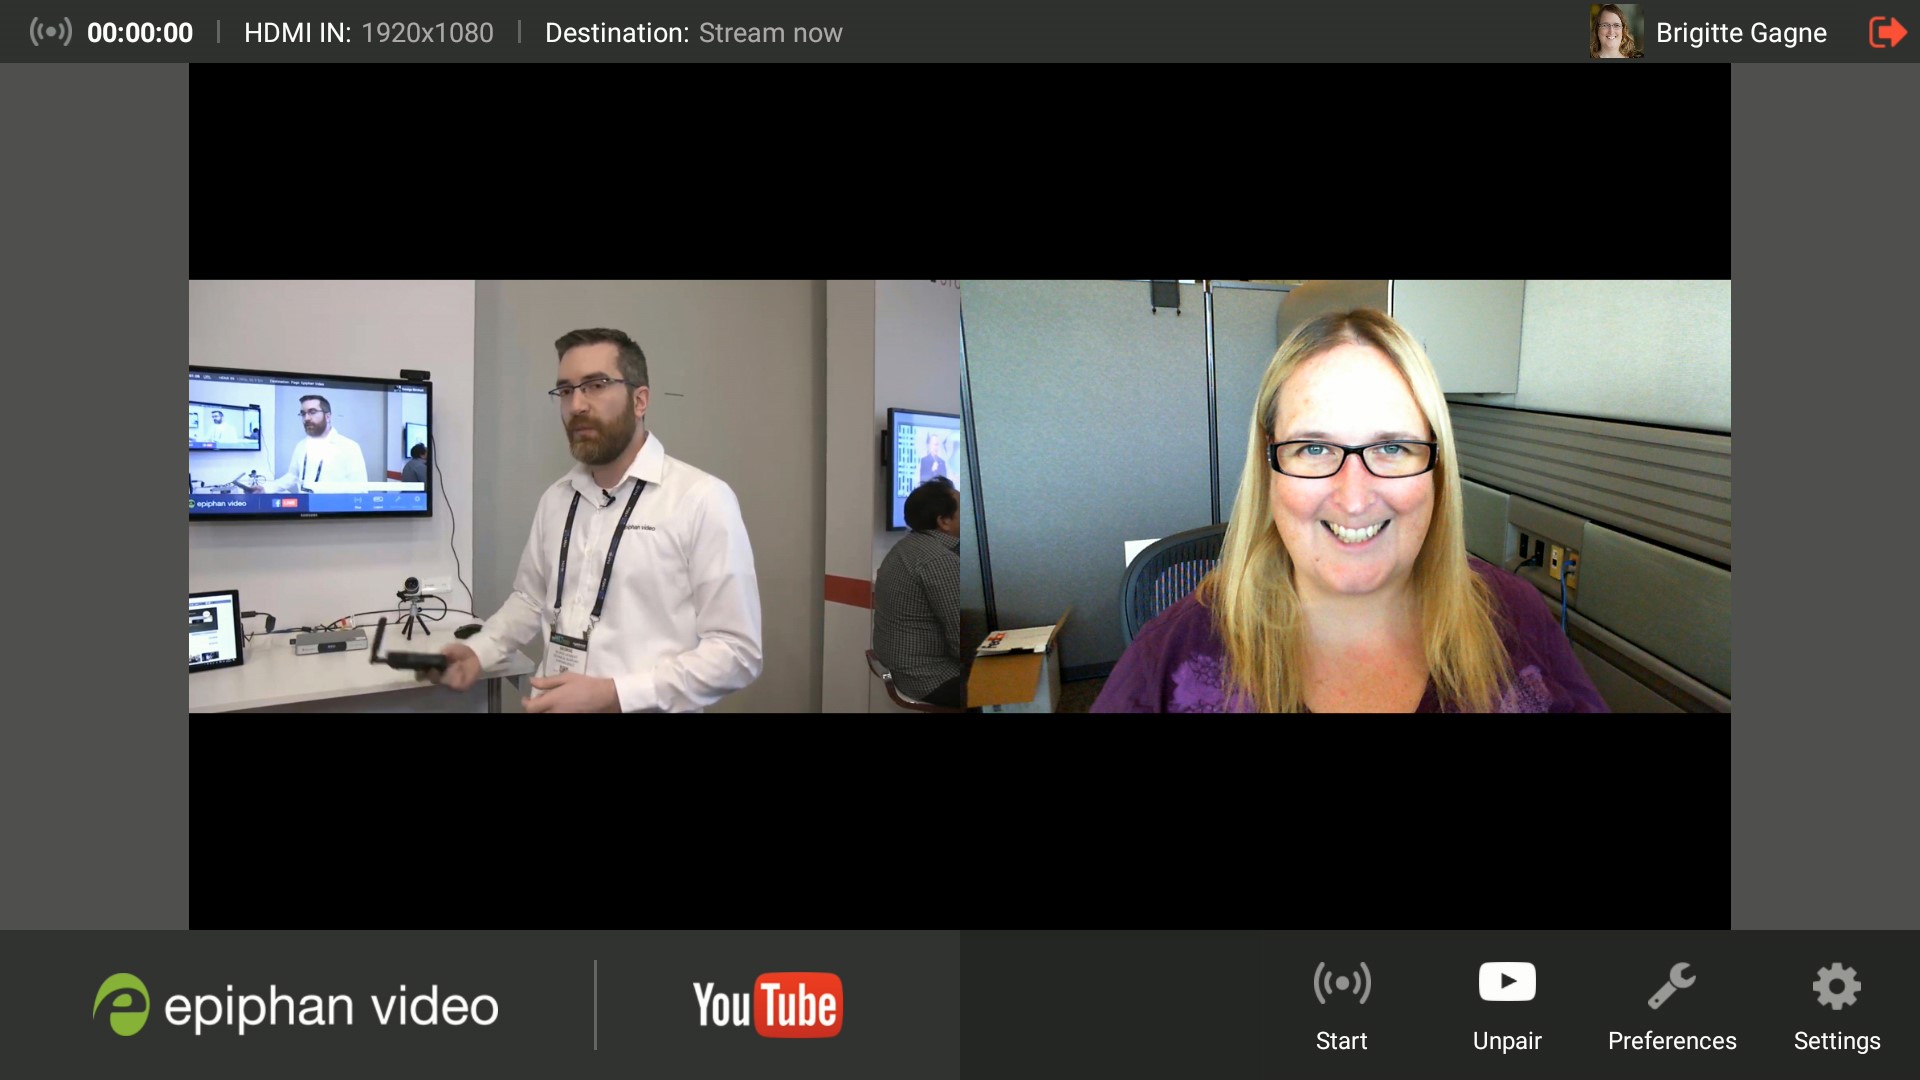
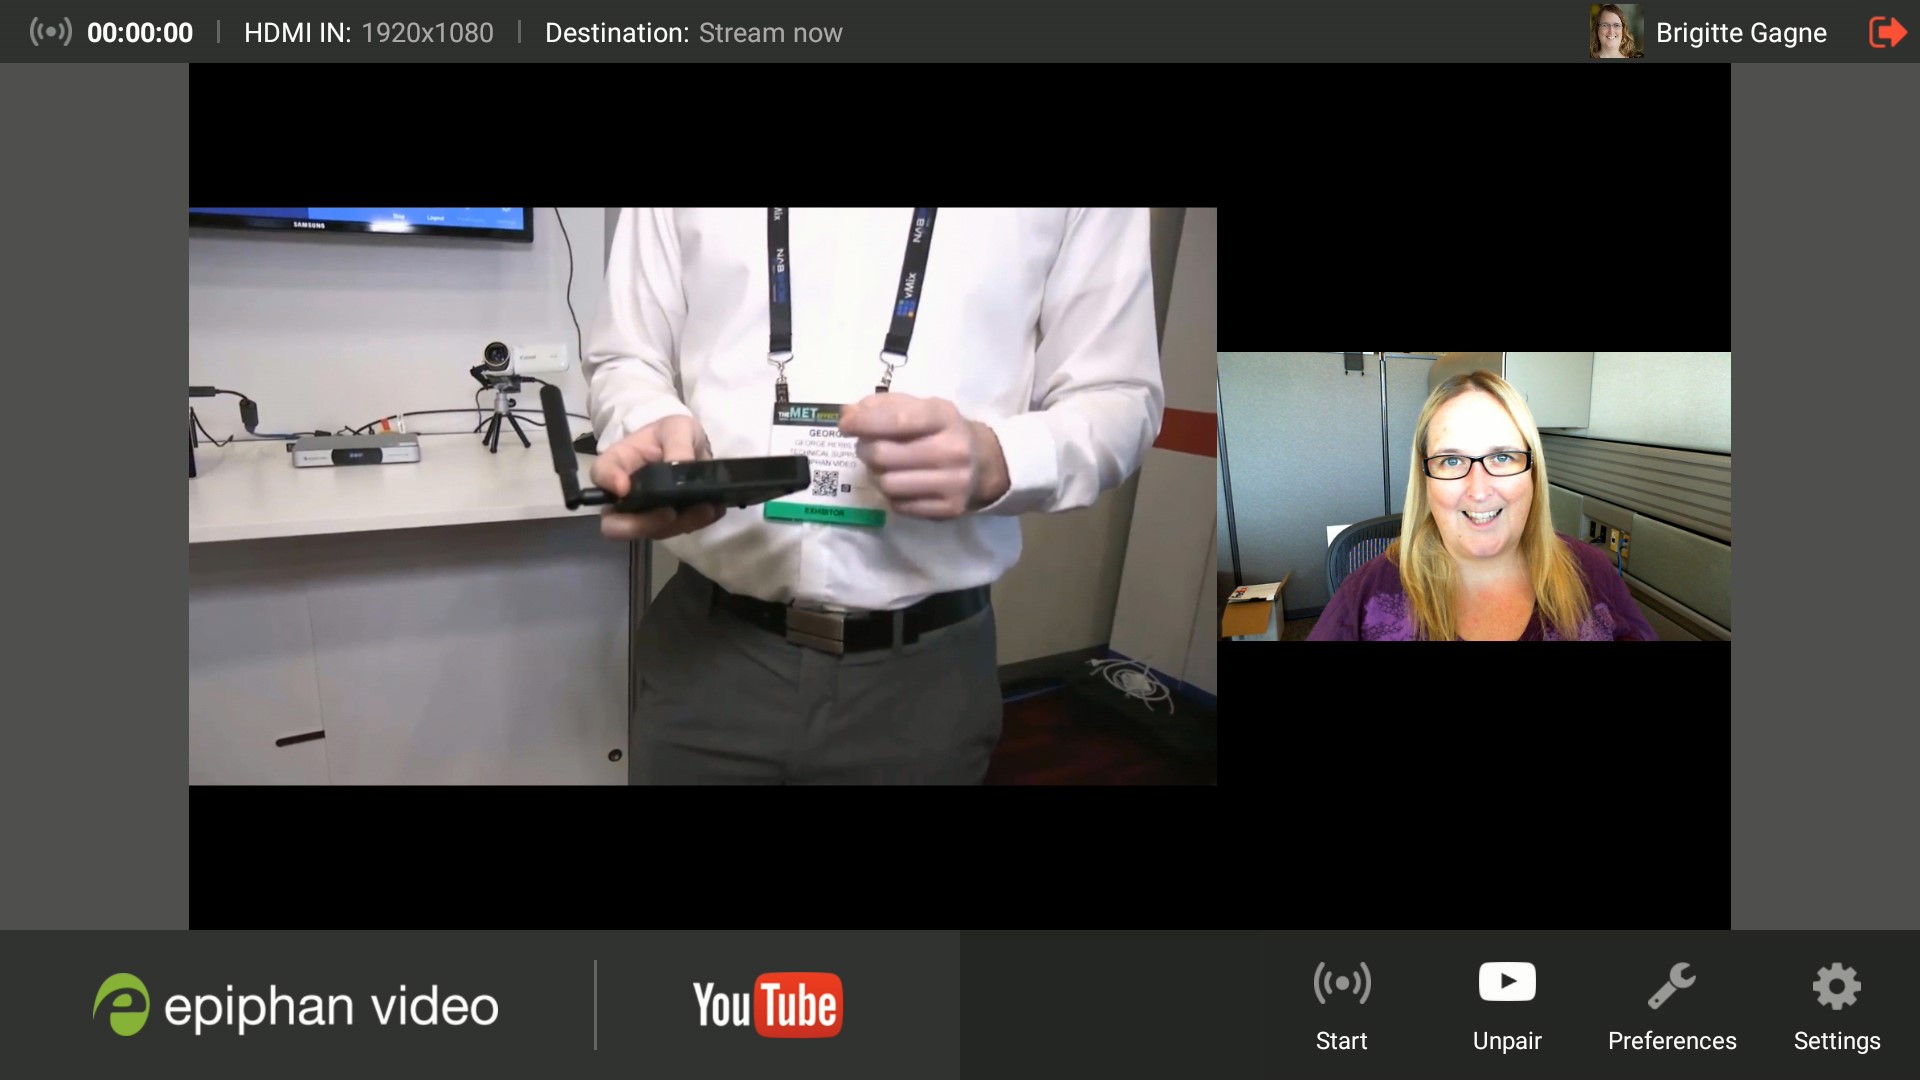
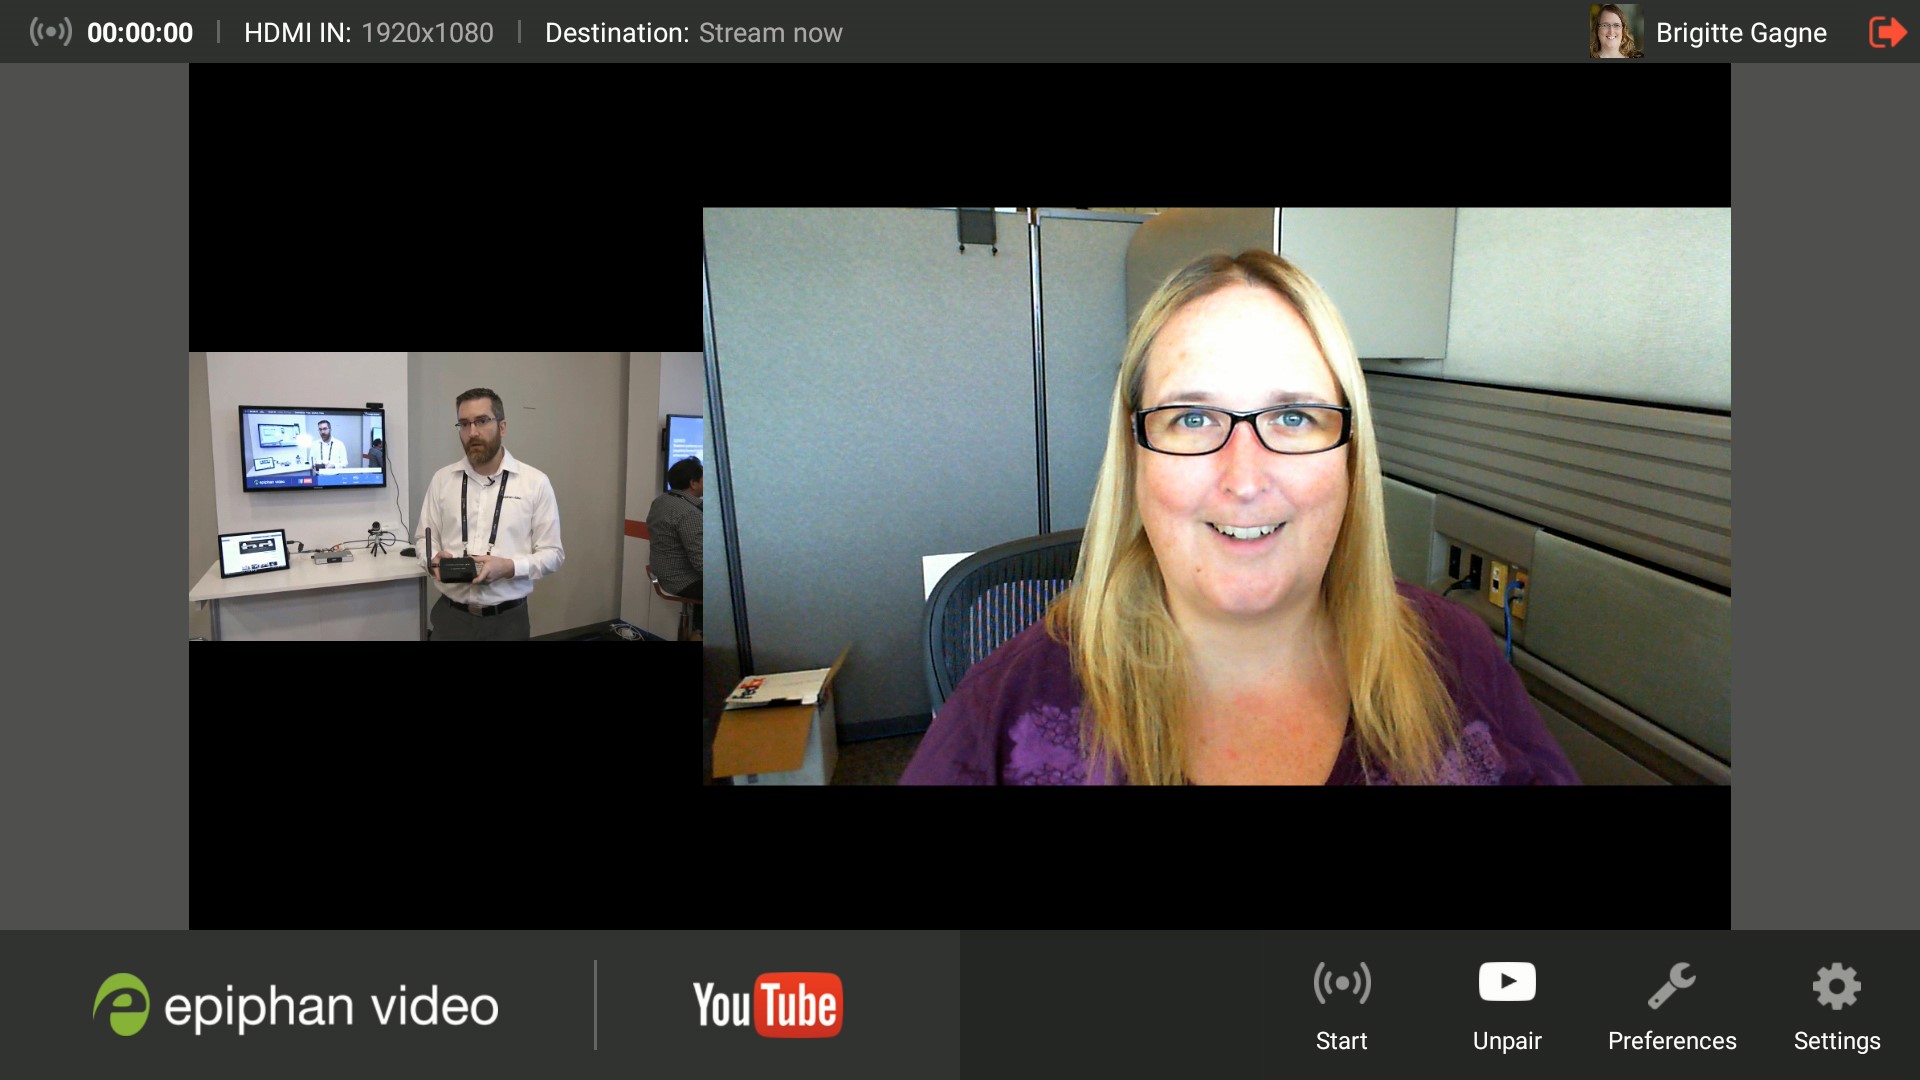
Webcaster X2 can show your USB camera and HDMI camera on the screen at the same time.
With two video sources connected, you can switch between your HDMI and USB source. If you're using picture in picture mode (multisource), the cameras swap with the larger one now taking the place of the smaller one.
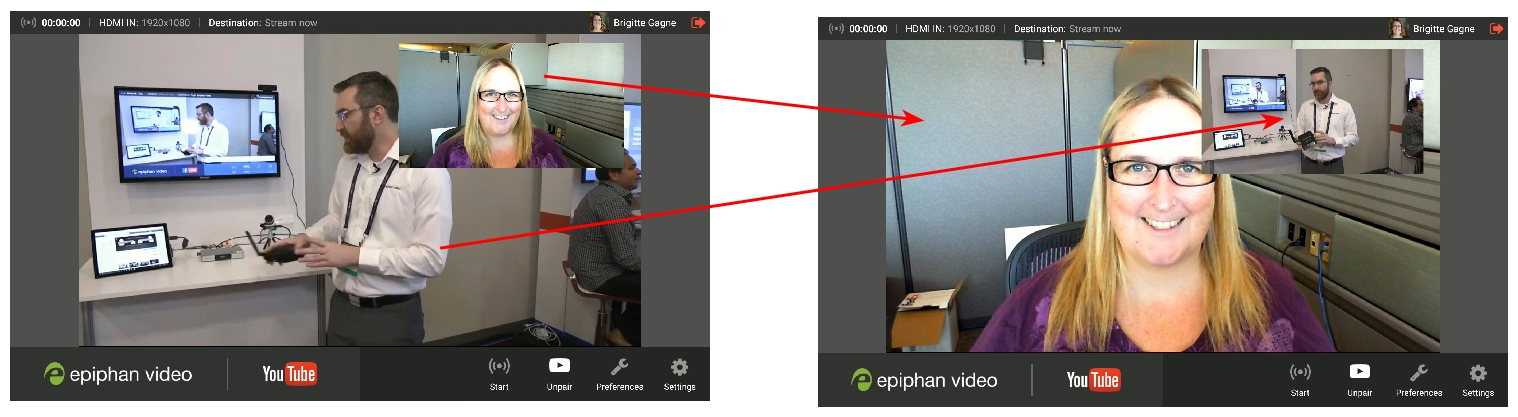
If you're not in picture in picture mode, the whole screen is swapped for the new source, allowing you to switch between full-screen sources.
Webcaster X2 supports 8 different picture in picture layouts. You can switch between these layouts using the mouse from the preferences screen or with an attached USB keyboard.
|
Top right [1] |
Bottom right [2] |
Top left [3] |
Bottom left [4] |
|
Full screen overlap [5] |
Twin (side by side) [6] |
|
Two-third left [7] |
Two-third right [8] |

You can control the size of the embedded picture in the first four layouts. Choose small, medium, or large to change the size of the embedded image.
With padding, you control how closely the smaller video is to the edges of the screen.
Webcaster X2 can apply a transition when switching between various picture in picture layouts and when turning on and off multisource mode. You control whether or not a transition is applied, and at what speed it happens.
You can control the transparency of the topmost (primary) video source when using the Full screen overlap layout.
This option is not fully used while the USB camera feature is in Beta mode.

Now you can make use of a USB keyboard to control layouts, switching, and your USB camera throughout your live broadcast.