Monitoring audio
The front panel includes a 3.5 mm headphones audio jack for monitoring audio. To monitor the audio for a channel, just select the channel using the
Increasing the volume to 100% may cause you to hear distortion that is not actually present in the audio signal being recorded and streamed.
Adjust the volume on Pearl Nano
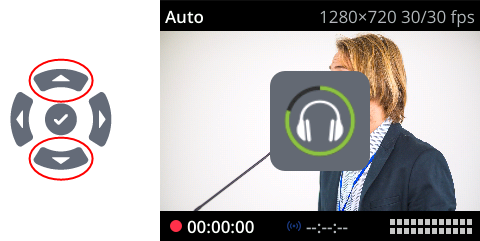
From the Channel view or when one of the video sources is displayed on the front screen, press the up and down arrow keys on the control key interface to adjust the volume. Each press changes the volume by 10% to a maximum volume of 100%. Turn the volume all the way down to mute.
You can also adjust the volume using the front screen menu when you select System > Controls > Headphone volume.
-
Login to the Admin panel as admin
A VU meter on the device screen shows the audio levels for the channel you are monitoring. The value is displayed in dBFS (decibels relative to full scale). Colored bars represent the audio level.
Channels that have stereo audio display two bars. The top bar is the left audio channel and the bottom bar is the right audio channel.
| Pearl Nano | VU meter (mono) |

|
| VU meter (stereo) |

|
Audio VU meter levels
| Color | Decibel range |
|---|---|
| Red | 0 to -9 dBFS |
| Yellow | -9 to -18 dBFS |
| Green | -18 dBFS and lower |
The VU meter appears in several different places so you can visually check audio levels:
- Pearl Nano Front screen: On the channel view and on each of the video input screens.
- Admin Panel: On the audio input source's configuration page when you select the input source from the Inputs menu. You can also add the VU meter to appear on the video output ports, see Disable or enable audio and output port volume.
